
It’s no secret that video producers put a lot of effort into shooting and editing videos that look good. Conscientious shooters pay careful attention to variables like lighting, lens selection and camera settings when they capture their footage. Likewise, they are attentive to the potential compromises that compression can introduce during editing and export, and may invest hours of effort to perfectly hone their color correction and effects filters to treat their footage in a way that makes it look like a feature film. Shooting and editing video productions that have a beautiful aesthetic is a wonderful thing, but even the most visually appealing productions can come across as amateurish attempts if they are accompanied by a sub-par soundtrack.
Most students of the art of video production have heard it said that audio quality makes up 50 percent of a production’s perceived quality. Upon careful consideration however, this is a vast understatement of the truth. Even one blotch of mold ruins the entire loaf of bread. If a customer finds one hair in her salad, or one fly in the soup, the whole dish is tainted, no matter how good it looks on the plate. In reality, audio quality is every bit as important as video image quality. In fact, we might instead consider the postulation that as video image quality increases, audio quality should increase proportionately, because the expectation of quality has been raised within the viewer. Furthermore, in the mind of the viewing audience, a video production will typically be remembered, and therefore judged, based on its weakest component. So, no matter how good a video production looks, a poor soundtrack will taint the entire production in the mind of the audience. In light of this, video producers must raise their awareness of audio and increase their attentiveness to cleaning up and covering messy audio.
Even the most visually appealing productions can come across as amateurish attempts if they are accompanied by a sub-par soundtrack.
The good news is that even a little attention to audio goes a long ways. You do not need to become a master audio-sweetening technician to greatly improve your videos. There are two approaches to audio editing: eliminating problems with source sound that would create distractions, and adding audio effects and elements, like sound effects, to build a soundscape. In this article, we will focus on reducing or eliminating common audio problems like hiss, distortion caused by clipping and weak, hollow sound. If you find yourself confronted with unsatisfactory sound quality when you sit down to edit, here are five strategies that might help you make the most of a bad sound situation.
1 – Mute It
The first step is to determine whether the offending audio track is critical to the success of the video or not. If, for instance, a news production about the county fair that is driven by voiceover narration, or an on-camera host includes a problematic soundtrack that is associated with ambient audio that accompanies B-roll video, eliminating the problem may be as easy as muting the audio that coincides with the B-roll. While the editor may have preferred to include the sound of the carnival midway, the integrity of the story would not be compromised by omitting the track. If the track is plagued by buzz or distortion, it can be cut altogether. Likewise, if the audio problem occurs in a short section of non-crucial audio delivered by an on-camera host, but the rest of the delivery is fine, a decision can be made as to the importance of including that specific line of dialogue. Cutting out problematic sound altogether may be an acceptable option.
2 – Add Music

In the case where audio delivered by an on-camera host or in a voiceover narration includes a small, but noticeable hiss, a fast and easy solution may be to simply add a music bed. When the offending audio track is exposed and alone it welcomes a greater degree of scrutiny. The viewer’s ear may be drawn to the hollow quality of the track. Adding a music bed gives the ear something else to hear and draws attention away from minor audio imperfections. Use care to not make the mix too hot, however. The goal is to blend the music track in such a way that it supports and lifts the primary sound source, not in a way that competes with it.
3 – Add Ambiance
One very common audio problem is introduced in editing when an audio track is chopped up and the dialogue is spread out on the timeline. When recording voice overs or on-camera talent, ambient environmental background sound is captured along with voice track recordings. This contrasts heavily with the ultra silent gaps between sound bites, resulting in increased awareness of the noisy background sound during the voice segments. The solution here is to cycle through the source footage to find sections of ambient “room noise” that may have been captured between takes without the voice.
This room ambience can then be edited into the gaps on the timeline to smooth out the silences between audio edits. This is such a common occurrence that video professionals make a regular practice of recording several seconds to a minute of ambient sound on their sets as a part of their shot lists so that they have all the ambient room sound needed to fill these aural interludes.
4 – Apply Noise Reduction

Another common cause of audio interference is 60 cycle hum that may be introduced by power cords that cross over microphone cables or by bad cables that are poorly grounded. This sounds like a low hum or buzz. Most of today’s video editing applications include built-in filters that are designed to reduce or eliminate noise within an audio clip at a specific frequency. There is typically a drag-and-drop preset option, or a manual slide control that allows the selection of a targeted range; In this case, 60Hz. Manual controls also allow the manipulation of resonance around the selected range that let the user limit the frequencies that the filter affects. This lets the editor achieve a narrower, but cleaner frequency range and can effectively reduce unwanted audio buzz.
5 – Software Solutions
Some audio problems cannot be fixed so easily and require the use of highly specialized audio editing software with a much greater degree of control. Some examples are Sony SpectraLayers, Adobe Audition and Avid Pro Tools. While audio controls within video editing applications are limited to frame-level accuracy, these professional audio tools allow manipulation at the sample level. These programs will allow you to carve out unwanted sounds, and sample objectionable background noise to remove it for impressive results. While there may be a learning curve to operate them proficiently, these professional audio editing software solutions can salvage sound that video editing applications could not save.
Find Your Fix
Don’t just settle for a sub-par soundtrack in your video production. With a little effort you may find that there is a simple solution to clean up and cover your messy audio anomalies.
Sidebar
Record it Clean
The best way to ensure that you have clean, clear audio in your video productions is to record it that way in the first place. Here are three quick tips to help with quality audio acquisition.
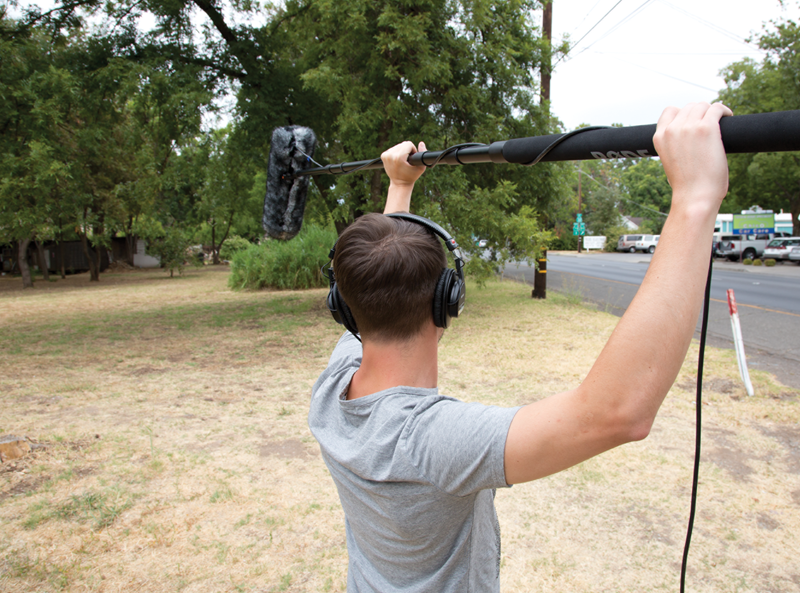
1) Test your microphone and audio connections before you go out on an important shoot. Record some practice audio using the microphone or microphones that you intend to use at your shoot. If there is a problem with the microphone itself, or with a bad cable connection, you want to know about it before you are on the set and ready to roll. If your microphone requires a battery, make sure to replace it with a brand new one right before you begin shooting. Bad cables and weak batteries are often the cause of poor audio recordings.
2) Position your microphone as close as possible to your subject’s mouth. The farther the mic is from the mouth, the weaker the sound will be. Microphone distance is the enemy of quality sound. Sound signals drop off exponentially as the microphone is moved farther and farther from the sound source.
3) Always wear headphones to monitor the audio quality as you capture it. If you can identify hiss, hum or interference at the time of the shoot, you can take steps to eliminate it before you get into the edit bay. Audio meters will let you monitor signal strength, but they will not indicate the quality of the signal. Your ears are the best way to avoid capturing bad audio at the time you record.
Chuck Peters is an Emmy Award-winning producer, writer, host and former Managing Editor at Videomaker.


