
Anyone with a story to tell can learn how to edit video. It’s a ubiquitous medium, available to anyone who wants to use it to share their message. In fact, there are tools and solutions for everyone out there. From the student with a phone in their pocket to the production crew working on an independent film and everything in between — there’s something for everyone.
Moreover, the proliferation of video means that audiences are no longer just passive consumers of content. Much like reading and writing opened a world of possibilities for individuals during the industrial revolution, digital literacy is creating opportunities for those who seek them.
Unfortunately, video editing still carries a false stigma of being difficult and only accessible to those who have the resources and technical acumen to pursue it. However, video editing tools are abundant and easy to access. Plus, the skills needed to successfully edit video are easy to learn. Here’s a list of simple tips for those who want to learn how to edit video.
Use the right tools
There are numerous video editing apps available on a wide range of platforms. So, those learning how to edit video don’t need to invest in the most advanced and robust platform available. In fact, that’s an expensive proposition that can make the task at hand much more difficult.

Likewise, video editing is no longer constrained to high-end desktop computers. Now, you can cut a basic video on a mid-level cellphone. Thus, your first task as a new video editor is to determine what hardware you’re going to use, whether it’s a laptop, a tablet or a high-powered desktop. An online video editor or video editing software is dependent on the hardware running it. A good place to start is with the Videomaker editing software buyer’s guide.
Make a plan
The video edit always starts with a good plan. Video editing can be a tedious task. However, it doesn’t have to be burdensome. A video editor who is familiar with their footage, and knows what they want to do with it can move through the editing process with ease.
A video editor who is familiar with their footage, and knows what they want to do with it can move through the editing process with ease.
First, you’ll need to know what you want to accomplish with the video you’re making. You’ll need to identify the message you want your audience to receive. This will be the focus that helps you to make decisions while editing the video.
Next, you’ll want to make yourself familiar with the footage you have available. It helps to watch through all the footage and take notes. Then make a record of what the footage shows. Write down what’s said in each shot, and which shots clearly push the narrative forward. These notes will help you select clips to use in your edit. It will also make the editing process more efficient by indicating which clips you can avoid, thereby preventing you from watching the same useless clips over and over again.
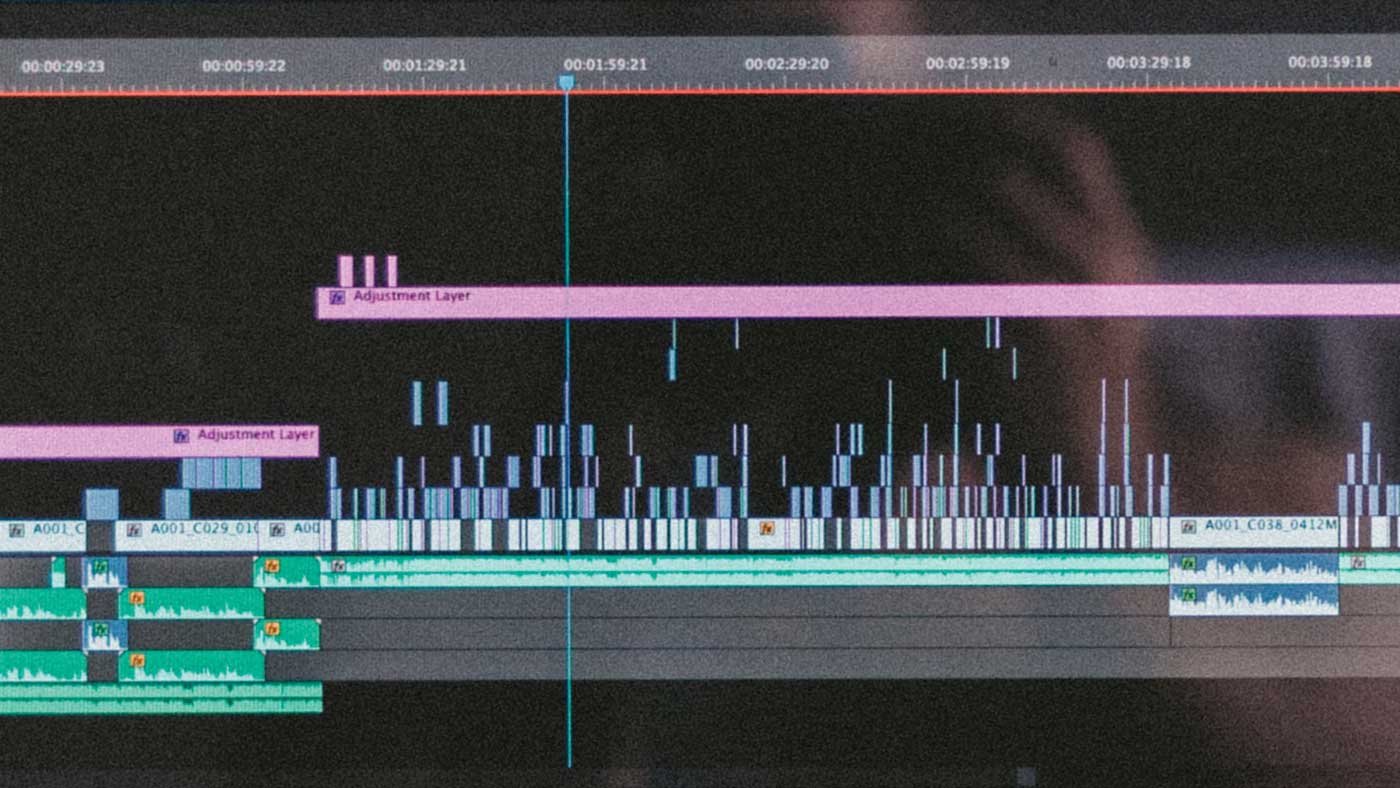
Create a basic timeline
With a plan in place, you can begin your edit by placing the clips you want to use, in order, on your timeline. The timeline is a visual representation of the chronological sequence of the clips that make up the final video. It’s the primary workspace for sequencing clips and refining the edit. In short, your timeline is where the final video takes shape.
Begin editing your video
Once the primary edit of your raw clips are assembled as a sequence in the timeline, you’ll begin to manipulate the clips, editing them into a usable form. Video editing is often a reductive process. The editor removes content to clarify the narrative they’re creating. The initial sequence of clips placed in the timeline is the raw material used to sculpt your video.
One of the most common tools across video editing software is the blade tool. As you edit, you’ll use this tool to virtually cut the video wherever you place the tool on the clip. This makes it easy to trim and split clips. That said, not all video editing software has a blade tool. In those instances, you will simply trim your clips by grabbing and dragging the heads and tails of the clips. Rather than splitting clips, in this type of environment, you’ll need to use multiple instances of the same clip. Then, you’ll trim each instance according to the portion of the clip you want to use at that point in the edit.

Now, go back through the clips and make fine cuts. You want to show the audience only what’s needed within each clip. At the same time, you’ll want the sequence of clips to flow so that no single clip or edit point distracts the viewer from the story you’re trying to tell. For this reason, eliminate clips that don’t fit within the sequence. Remember: clips can be lifted out of the sequence or moved to another point in time where they’re more effective.
Splitting clips
Another step novice editors should take at this stage of editing a video is splitting clips into segments. A single clip might have two significant points within it. Showing these two points in successive sequence might not always make the best sense. Yet, the moment may be too valuable to lose. In this case, you should split the clip and consider each subsequent portion as its own clip. This way they can be sequenced into the overall narrative where each one fits best.
Similarly, you may also want to split a clip when you want to use a reaction shot. A reaction shot is one that responds to an event or action that happened in a previous shot. For example, if the video is about a sporting event, you might place a shot of the crowd’s reaction after a team scores in the game.
Layering the story
One of the most powerful, but simple, techniques in video editing is the ability to overlay and overwrite clips to create a dense and fluid visual narrative. This is done by stacking clips on top of others inside of the edit. As stated previously, a reaction shot can be placed between two segments of a single clip. However, splitting one clip in order to insert another isn’t always necessary. Sometimes it’s more powerful to place one clip on top of another. This way, the foundational source clip can play out in real time, providing the ambient audio for the edit while other visuals are revealed to the audience.
Cut it down
It’s easy for a novice editor to include all of their footage in the edit. However, quantity does not equal quality when it comes to video editing. The process of editing is an iterative process of expansion and contraction. First, you build up your edit, adding clips and various pieces of media to lay the foundation of your story. Then, you’ll refine the edit by reducing it and removing what isn’t necessary.
This is a cycle that repeats itself throughout the editing process. As you edit your video, look for ways to cut down your videos to the core parts. If something can be removed and the video still works, removing it is the right call. This helps to shape the most clear and direct message the audience needs to hear.
Finishing
It’s time to finish the edit after the video is cut to a length and structure that best suits the audience’s needs. The process of finishing finalizes and prepares the video for delivery to the audience. This is a process that addresses many fine details and creates the final product. One of the first steps of finishing is to color correct and grade the footage. From there, you’ll add sound effects, music and graphics.
Audio
Audio is just as important as the visuals in a video. Just as you give several passes through the timeline to adjust the visuals, you should play through your edit a few times just to listen to your audio track. Robust video editing programs, such as Adobe Premiere Pro, have a range of tools to fine-tune the audio of a video. Many free and smaller video editing programs won’t have such a wide range of audio tools, but they should allow you to adjust the volume of each clip. At this stage, you are responsible for making sure the audio track is clear, at a reasonable level, and easy to understand.
Graphics
Titles and graphics help to convey critical information to the audience. One thing to remember when creating titles and graphics is to make sure they are well designed. This simply means they are easy to read. The screen shouldn’t be crowded with lots of words. The titles should stand out from the background and colors should be complementary, not scintillating.
Final output
The final step in finishing a video is outputting it for delivery to the audience. These days, most videos are watched on social media platforms. As such, most video editing programs have output presets that are specifically built for posting to social media. Some apps will even upload and post the video for the user upon output.
All in all, anyone can learn how to edit video. It’s a basic digital literacy skill for today’s connected world. Some people might feel they don’t have the knowledge or creativity to make a successful video. Yet, the truth is, as consumers who’ve watched hours upon hours of video, we’ve inherently developed an understanding of what makes a great video. The tools to execute this task are readily available to anyone who’s committed to learning how.


