Recording a good voice over is one of the most basic skills in the world of video. We’re talking about the ability to make good, clean recordings of the spoken word. You may have some of the best camera work, special effects, titles and graphics in your videos, but if your viewers can’t understand what’s being said, then all that hard work you put into the visuals will come to naught. In this month’s audio column, we provide you with twelve important tips for making professional-quality recordings of that most subtle of instruments, the human voice.
We assume no prior knowledge of this subject on your part, and we don’t expect you to have access to a recording studio or fancy equipment. We do, however, expect you to try these recording tips on your next video project and pay special attention to the audio every time you make a video, even if it’s just a video of your family’s vacation.
Script it
Video recordings fall into many different categories and almost all of them will benefit from some kind of script. This doesn’t mean you have to write every word of your video in advance; it just means you should at the very least have some kind of plan for what the people in your video will be saying. A simple set of notes is good, but an outline is better. As you record, be willing to make changes in your script to fit the needs of the situation. For interviews, you can’t predict what your interviewee will say, but you can and should put a lot of planning into the questions you want to ask.
Shoot with voice-overs in mind
If you plan to use voice-over narration in your video, it will help the editing process if you keep this in mind while shooting. Suppose you shoot a commercial, for example. If you know what your narrator is going to say before you shoot, you can imagine the spoken words as you roll tape. You might even consider speaking the narration aloud as you record, to provide cues for your on-screen talent. Don’t worry if your on-camera microphone picks up this audio. Later, when you’re editing, you can replace it with the real narration.
Match narration to visuals
The previous tip was about matching visuals to planned narration, but the opposite method works as well. As you edit your visuals, but before you add voice-over narration, look for opportunities to match the spoken words to the action you see on the screen. If you have some video of a political candidate reaching into a crowd of supporters to shake hands, you might have your voice-over narration say, “In an attempt to reach out to his constituents, the mayor today unveiled…”
Use a good microphone
Because the spoken word is the most important audio you’ll record in your videos, you will want to make sure you use the best microphone possible. Good microphones are expensive, but a resourceful videographer can beg, borrow or rent the appropriate equipment if necessary. If you’re a student, consult the school media lab or instructional resource center. If you know any musicians, ask them if they have a microphone you can borrow for a day or two. You might offer to videotape a live performance for them in return. For help deciding on a mic, see our microphone buyers guide.
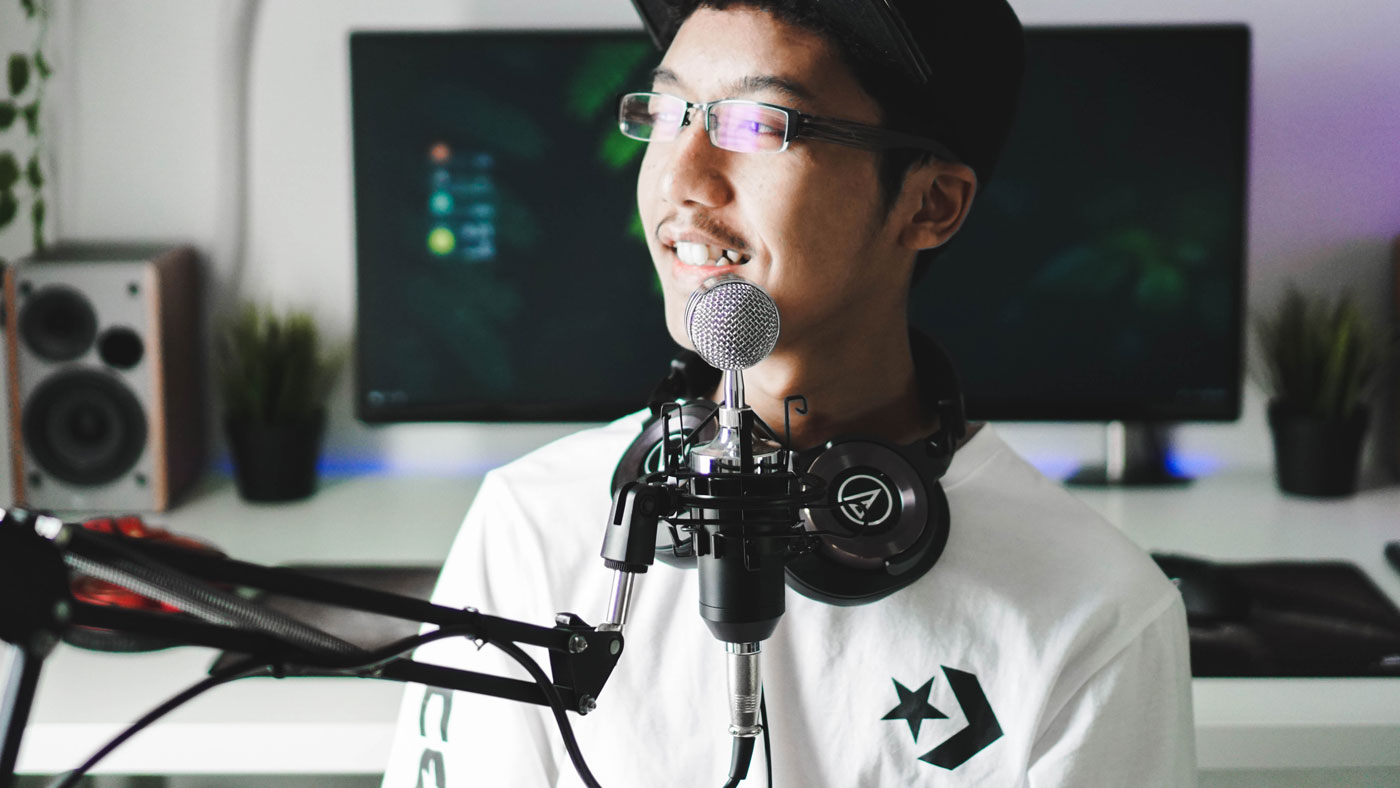
Keep the talent’s mouth close to the microphone
One of the most common problems with amateur voice recordings is the talent’s inability to keep his or her mouth close to the microphone. By close, we mean right up there on the microphone, with lips within an inch or two of the microphone head if possible. To aid in this, use a microphone stand, and constantly monitor the quality of the audio through a set of headphones. Coach your talent to keep his or her head pointed straight towards the microphone. For live recordings of on-screen talent, use a wired or wireless lapel microphone.
One of the most common problems with amateur voice recordings is the talent’s inability to keep his or her mouth close to the microphone.
Don’t be afraid to re-do multiple takes if that’s what you need for a good, clean recording. If you don’t have an external microphone, or your camcorder doesn’t have a microphone jack, there are tricks to get the best result. Place the camera as close as possible to the talent, set the camera at its widest angle and shoot head-and-shoulders shots or even a little bit closer if you dare.
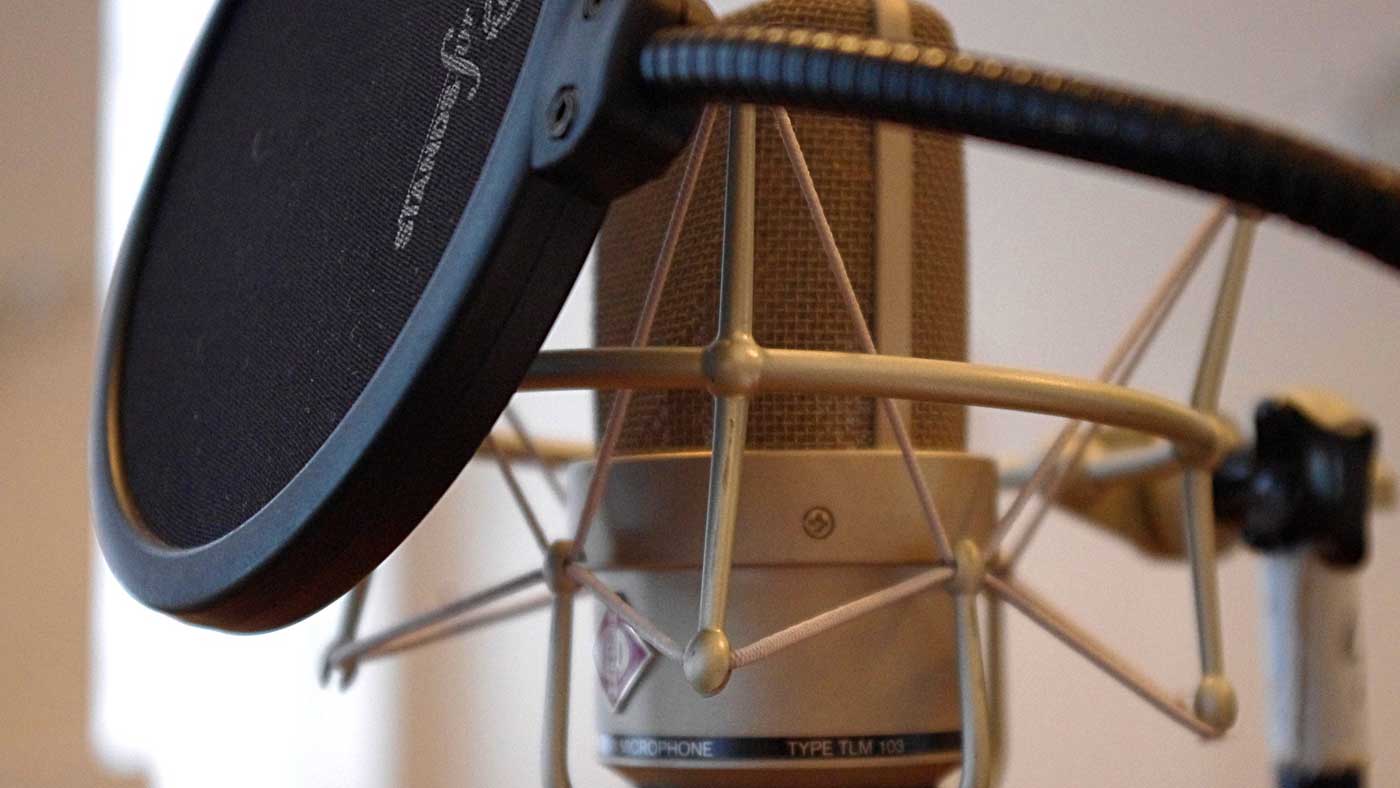
Use a pop filter
You might get a few audible, airy popping sounds when the talent speaks the letters P or T directly into the microphone or some windy noises from S sounds. To remedy these plosives and sibilants, you can use a pop filter, a circular piece of thin fabric suspended between the microphone and the talent’s mouth. Professional pop filters aren’t terribly expensive, but if you need to improvise one, you can bend a wire coat hanger into a rough circular shape and stretch a pair of women’s nylon stockings over it.
Use your camera as an audio recorder
Today’s digital camcorders make excellent audio recorders. Their fidelity is technically better than audio CDs and you can easily capture the audio you record on your nonlinear editing PC via FireWire. It’s helpful to create a slate for these audio recordings by pointing the camera at a piece of paper with a few descriptive words while recording. It’s also a good idea to log the time code of your recorded narration, just as you would for any other kind of shot. This will help you find your voiceovers once you get back to the edit bay.
Timing is everything
Many videos require very specific timing for the spoken word, the thirty- or sixty-second commercial being the most obvious example. When you need the words to match a specific period, plan on three words per second and be ready to coach your talent on speaking a little more slowly and clearly than usual. Remember, in our everyday ordinary speech, we have all sorts of ways of communicating that may or may not come through in a video and our listeners are probably used to our speech patterns. In video, we have to be as clear as possible at all times and speaking with a regular three-words-per-second cadence can help the viewer understand the narrator.
Emphasize
We hardly notice it anymore because we’ve grown up with television in our lives, but more often than not, the speaking voices you hear in videos are more emphatic and dramatically charged than those we use in everyday life. Actors and news anchors are trained to take their words a little “over the top” and what sounds like corny over-emphasis is in fact just right for most video applications. When coaching amateur talent, don’t tell them to speak in their ordinary tone of voice. Consider telling them to take it almost to the point where they’re making fun of the script in a cartoony sort of way. The results may surprise you.
Wet your whistle
Prepare your voice for recording by sipping on a cup of hot water with a twist of lemon and a teaspoon of honey. It’s best to avoid most other kinds of beverages, especially carbonated sodas, coffee and tea. If you must drink something other than water, try lemonade, a sports drink or something else sugary but non-carbonated. The sugar and citrus can help calm a tickle in your throat.
Count it down
When doing multiple takes of voice-over recordings, it may be helpful to count down each take before you record it. For example, you might say the following: “Training video, section 7, take 1, in 5, 4, 3…” Always leave the last couple of seconds silent in order to give yourself some room when editing. Also, be sure to leave a couple seconds of silence on the end of each take for the same reason.
Always use headphones when recording audio
If there is a problem in the recording, such as a loss of signal, interference, hum or the talent turns his head away from the microphone too much, you will want to know right away, not when you’re editing later. The only way you can know this is to use, always, a set of headphones when recording audio. The talent may or may not wish to wear headphones, and probably doesn’t need to, but the technician in charge of recording the audio should certainly insist on listening to the sounds as they go on tape. This is why we always insist on a headphone jack in addition to a mic jack as standard equipment for a camcorder.


