Shotcut is a free, open source, cross-platform video editing program available for Windows, Mac and Linux. In this article, we will show you how to use the program to create dynamic transitions to enhance your video content.
System requirements
Shotcut supports a wide range of video formats in resolutions up to 4K. It doesn’t work with RAW files, so these will need to be transcoded first. The program requires an Intel or AMD CPU with at least 4 cores for HD video and 8 cores for 4K. It also needs at least 8 GB of RAM for HD and 16 GB for 4K. Shotcut includes Preview Scaling and Proxy features to help reduce preview lag if your computer only just meets the minimum specifications.
Features
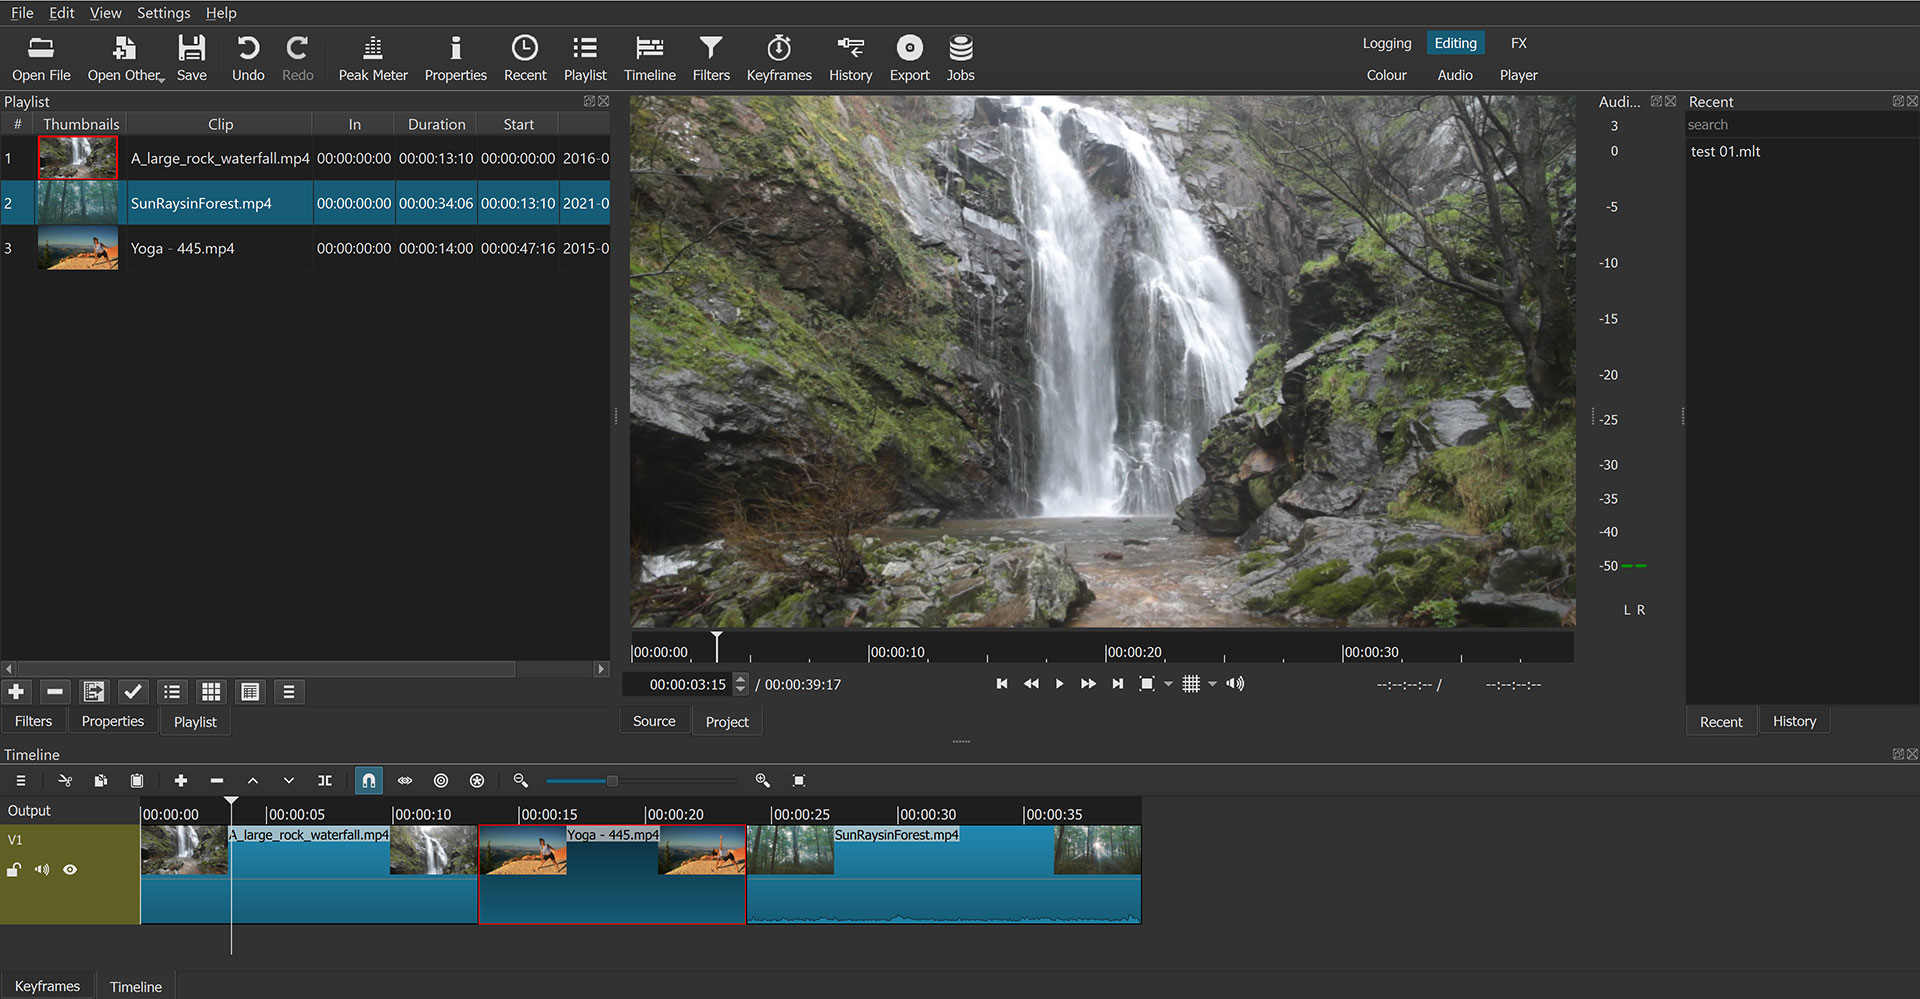
Shotcut has six pre-set layouts, each optimized for different aspects of the editing process: Logging, Editing, FX, Color, Audio and Player. Additional elements, including a comprehensive range of video and audio scopes, can be added to customize each layout to suit your own workflow.
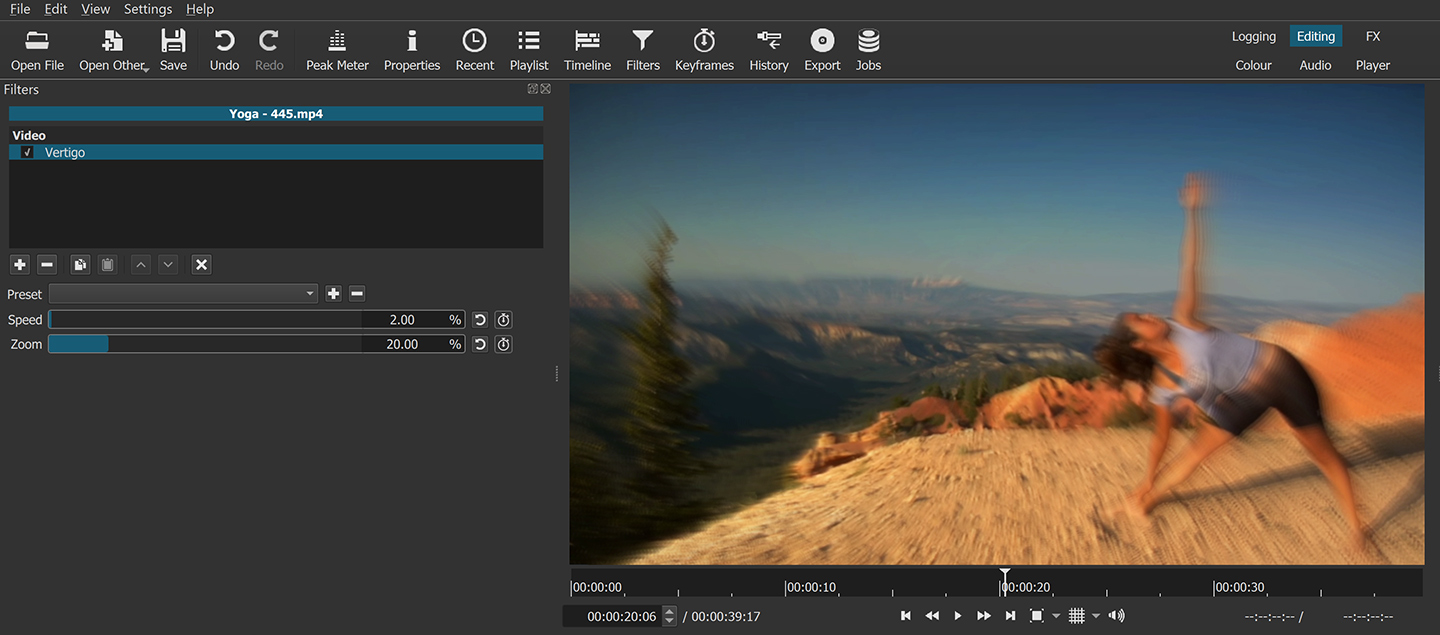
Shotcut includes all the features you might need from a video editing program. With its extensive range of video and audio filters, you can resize, reposition and apply artistic effects to any clip. Shotcut also includes powerful color grading and chromakey filters. Many of the filters can be adjusted with keyframes so that they can be set to change over time. The only area of the program that has some limitations are the text tools for adding titles.
Shotcut has a wide range of transitions to help keep your audience engaged. Its advanced features give you the tools to customize these effects and to create your own transitions.
Transitions – when to use them?
Transitions can add impact and professionalism to your videos. But they can also have the opposite effect if overused. Most edits in a modern fiction film will be hard cuts.
Fades in/out and cross dissolves are still used to indicate a passage of time but are becoming less common. Films such as “Star Wars” and the “Indiana Jones” series used wipe transitions as a homage to an older style of film making. However, using elaborate transitions without an artistic reason can distract the audience for fiction films.
For online content, transitions are one tool to add energy and dynamism to your videos. Music videos, adverts and promos also allow you to let your creativity run riot.
Adding a transition
With most video editing programs, transitions are added over the cuts between clips on the timeline. With Shotcut, the process is even easier.
To add a transition, you simply drag one clip on the timeline over another clip on the same track. A transition is automatically created for the duration of the overlap.

One thing to be aware of is that a transition in Shotcut becomes a new clip between the original two clips on the track in the timeline. Any filters applied to one of the clips will still be applied to the element of that clip in the transition, however.
The duration of the transition clip can be adjusted by dragging its edges to make it longer or shorter. The total duration of a clip is only limited by the length of the original clips on the timeline.
Customizing a transition
Now that your transition has been added, you can start to get creative. By default, each new transition is created as a cross dissolve for both video and audio files. But there are a range of other transitions available, all of which can be further customized.
To configure a transition, you can right click on the clip on the timeline and select Properties from the pop-up menu. Alternatively, you can click the Properties button under the Playlist panel while the transition is selected. Both options open the Transitions panel.
The Transitions panel has separate controls for video and audio. The Audio options are limited to a cross-fade or a mix at a set percentage (from 0-100%) between the audio from the two original clips.
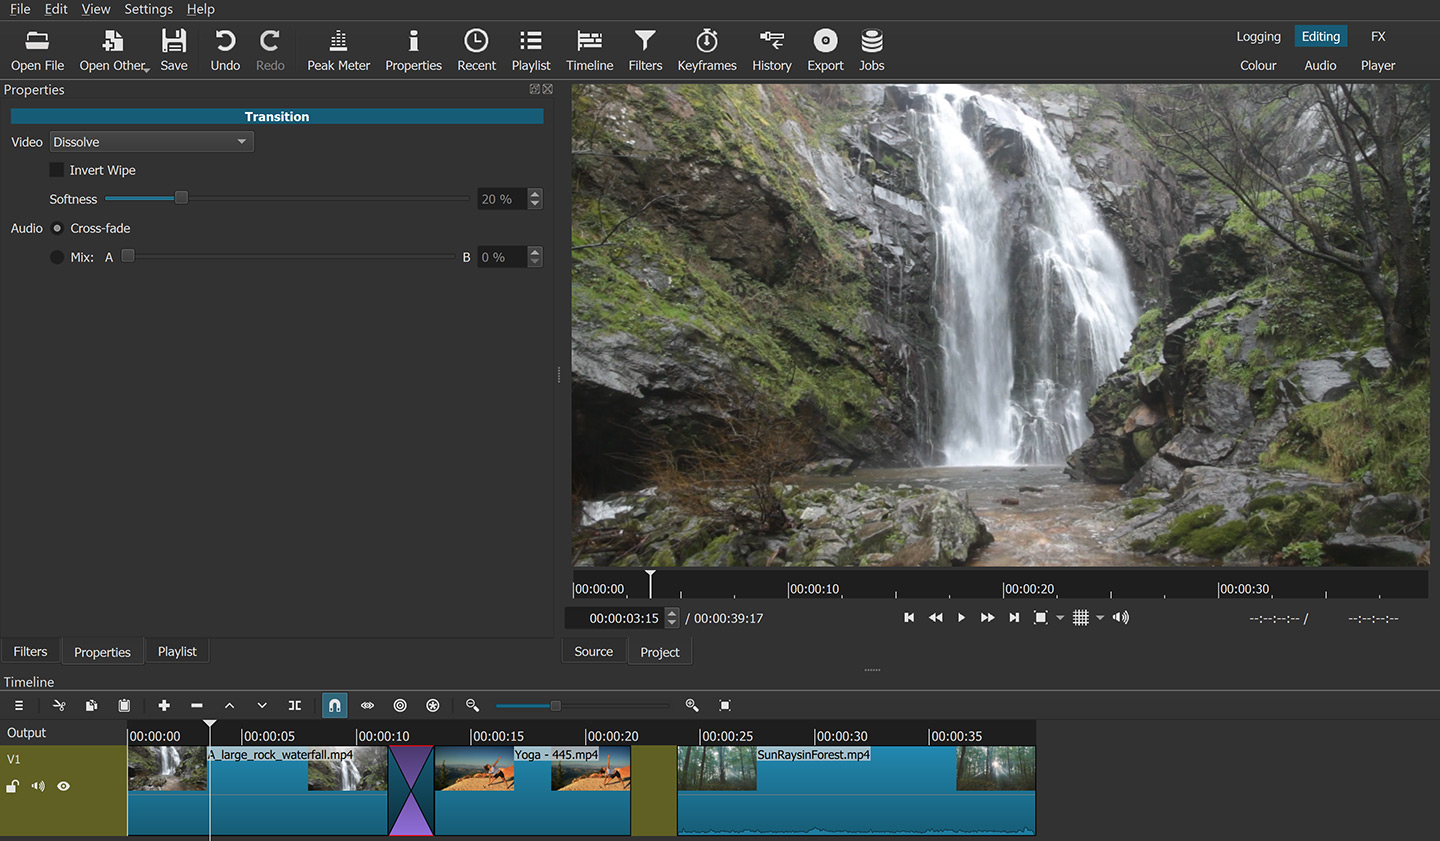
The Video options allow you to swap the dissolve for a different wipe effect such as bar, barn doors, waterfall, box, iris, clock and Matrix snake. The softness of the wipe can be adjusted between 0-100% and it can be inverted as well. Changing the duration of the transition will alter the speed of the wipe accordingly.
Making a stinger transition
The transitions that come with Shotcut can be easily used to make your own “stinger” transitions. Stinger transitions are the short animations that briefly fill the screen to hide a hard cut between two clips. They are especially popular with live streamers.
To make your own stinger in Shotcut, all you need is a basic image file. Stingers tend to be very quick so work best with simple images rather than photographs. A basic stinger can be made with a single-color image. Alternatively, you could use your logo over a colored background.
Import your image and place it on the timeline between the two clips you want to cut between. Adjust your image so that the duration is two frames longer than 1 second (so 26 frames if your footage is 24fps, 32 frames if your footage is 30fps).
Next, drag the image file left along the timeline so that it overlaps the first video clip by half a second. This will create a transition. Position the playhead at the end of the transition and use the cursor keys to advance it two frames. Now drag the second video clip over the image up to the playhead. This will create another transition, again half a second in duration. There will also be a section of the image two frames long between the two transitions.
A dissolve won’t work well as a stinger transition; you need to choose something more dynamic. Shotcut’s Matrix transitions are ideal, but the simple clock wipe can also be effective. Experiment with the customizations by reversing one of the transitions or adjusting the softness of the wipe.
Advanced transitions
The Mask: From File filter can be used to create more complex transition effects in Shotcut. You will also need a video matte file. These are freely available via the Shotcut forums or online. Video matte files are short animations using only two colors, black and white. The animations transition from a fully white screen to a fully black screen.
To use this technique to create a transition, you need to add a second video track. Position one clip on track 1 and the other on track 2. Overlap the clips by the same length as your video matte file (usually between 1-4 seconds).
Select the video clip on track two and add the Mask: From File filter to it. In the customization panel for the filter, select Custom, then select your video matte file.
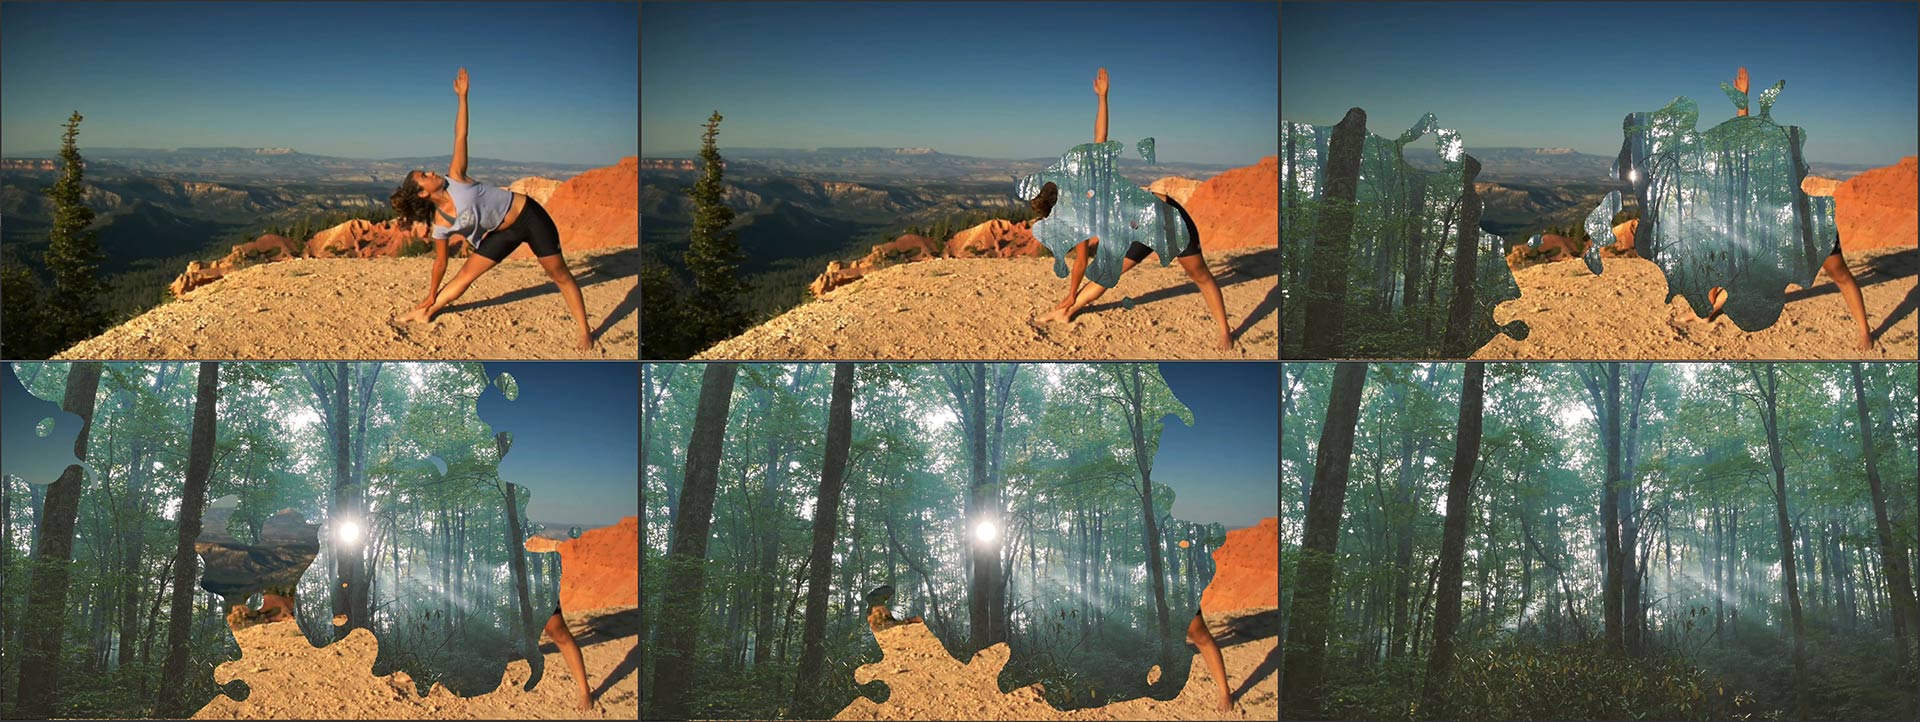
The white parts of the video matte will make the video on track 2 transparent, showing the video on track 1. The black parts will make the video on track 2 visible, obscuring the video on track 1. Note that some video matte files run from black to white. To use these, you simply need to check the Invert box in the Filter properties to have your transition work correctly.
Shotcut transitions can drastically improve your content
The transitions in Shotcut can be used to add visual impact and energy to your videos. The ability to customize effects and use filters to create your own transitions makes the software even more powerful. For many creators, it’s an essential tool for crafting high-quality content that their audiences are more likely to thoroughly enjoy.


